Saturday, December 7, 2013
If you noticed some changes…
It's because I just went through and purged a bunch of old posts including all the old weekly deal posts. And in the process found a couple of old drafts that I decided to publish. This is still really just a ghost site but I do try to check in on it every few months. I'm still battling Chronic Lyme disease and the last 2 months have been extremely rough for me, I'm thankful to currently be on the mend and starting to regain some strength. God bless.
Pin It

Time for a workout!
 I'm so excited that my home gym is set up now! I'm so happy and feel so blessed, my husband has worked so hard for me to be able to have that space to work out. With how busy and hectic my shedule is and having a little guy home in the mornings, realistically the only way I am ever going to get a workout in is at home. This week I did some front, back squats, deadlifts ( one of my favorites), rowed, did some sit-ups and some stretching/mobility. I was really wiped out at the begginging of the week with a flare up of my Lyme Disease and Bartonella, so I wasn't real active till later in the week. Last week I did 2 workouts also, and one thing I'm finding as I ease back into it is the coach in me starts coming out. It makes me want to write a post of pre and post workout nutrition, recovery, hydration etc., all of them are so important. We put so much time, money and energy into eating right, why not take it a step further and be sure when we exercise we are taking the best care of ourselves also. Be sure to remember to eat a small amount of protein post workout (within 15-20 minutes is best), it will aide in your recovery and help replenish your body. It's so simple but quite often is forgotten or not made a priority, maybe sometime I'll do a post on the benefits. I am also finding that although I'm fatigued and have been having pain and numbness in my hands this week, that working out helps, at least mentally. And I believe that in strenthening my body it will be stronger more able to win the fight against Lyme disease and Bartonella. My goal is to be able to go backpacking in the Trinity Alps again this summer with my husband. And to look great for my oldest son's wedding in June!
  |
| My new home gym, complete with rubber mats, thanks to my husband! |
Pin It
Rest..Relax..Enjoy

My husband and I had a wonderful time doing just that in Maui for 12 days! I'm so thankful I've been blessed with such a caring, loving husband, one who knows me well after almost 23 years of marriage and can tell just by looking at my face what's going on.
Raising a large family while going through treatment for lyme disease has not been easy on myself or my husband. He works 2 jobs, one as a Fire Captain which involves shift work and can be exhausting in itself and then on his off days he works as a contractor (doing physically hard work). So while he was thinking of me when he scheduled the trip..in reality he needed it too. It's so important in our busy, hectic lives, to take time for each other, to slow down and enjoy the company of one another. And while we make great efforts to do that by having date nights, it's really needed more often. We have adult children and little children living in our home, which makes it much more challenging at this stage in our lives. When they were all little kids we would just simply put them all to bed early (8:00) and then have our time to catch up on the days events, talk, etc., to slow down and be together. But what we are finding now that our oldest is 21 and our youngest is 3, is that bedtimes are spread out. The younger 4 go to bed by 8:00 on school nights, and then we spend the next hour between 8:00-9:00 trying to catch up with our middle child (our 15 year old daughter), then once she is off to bed between 9:00-9:30 we like to spend time with our oldest 2 sons (19 and 21). It's really the only time we see them most days and it's so important to us to talk to each of them and to be there for them, our children are so important to us and we are very involved in there lives. I want them to know we are there for them, but I'm sure you can imagine how that can also be hard for us to have time to talk and why we try to get away alone for a few days a couple of times a year. I encourage every couple to make time for themselves, because it doesn't help your kids if you and your husband aren't in unity. We are so blessed with great friends who are willing to take our kids at any time and who know the importance of getting away and resting. And what better place to rest than "paradise"?
When we go to Maui, it's a time of rest for us, a time to slow the pace down, and not be in a hurry. We really don't DO much, we get around slowly in the morning, and nearly every day is spent at the beach and/or pool. We get some snorkeling and hiking in there too, but our goal is to slow down and enjoy each other. This was our first trip to Maui without all of our kids, and while we really enjoyed ourselves and it was very restful, it made us think of them often! It ended up being just the medicine I and my husband needed (which he foresaw), lot's of vitamin D, rest and fresh air! The first week I slept a lot, I took naps on the beach and afternoons in the condo, but Maui proved to be good for my health and by the second week I was only needing about a 1/2 hour nap! I am so thankful to my wonderful husband for knowing I needed a break from our hectic lives and a chance to catch up on some rest. We also enjoyed having time to do things we don't normally have time to do like read. We read some good books while sitting on the beach listening to the waves, I grew up right on the ocean and the sound of the waves is so calming and means home to me). While there my husband finished Till We Have Faces by C.S. Lewis and started the book Whatever Happened to Penny Candy ( a book our kids read for school), I read The Hammer of God and we both listened to dozens of sermon podcasts by a variety of theologians and pastors.
Now that we are home and back in the thick of it, I've made myself a promise not to get so worn out and to stop pushing through so much. To slow down and take time to rest (which I'm failing miserably at so far), and to slow down and enjoy my youngest more. He is such an easy little guy, and I was so exhausted much of the time that I must confess, I had fallen into him watching television nearly every morning the kids were at school (4 days a week). I was able to get a lot done that way, but it's not what I want for him. So this week since I've been back I've turned off the TV and involved him in what I'm doing. The other day it was time to start another batch of Kombucha so I let him "wash" the jars while I worked on other parts of the process. He LOVED it and felt helpful, children really want to be a part of what we are doing and I'm thankful the Lord convicted me of my selfishness (sin) so I could be forgiven and start a new with him, we are really enjoying our mornings together now.
As if our lives weren't busy enough, or complicated enough, I am having to totally change my diet! The day before we left I got the results back from Immuno Lab for food sensitivity testing that my ND had ordered. Many of the foods I was consuming daily I do not tolerate, I was having sharp stomach pains which I kept attributing to the 6 months of heavy antibiotics I had completed for chronic Lyme Disease, but they weren't! Turns out I am most allergic to almonds! Which is something I was eating probably daily, because we already knew I reacted to coconut, once I cut that out (on our trip) I stopped having the sharp stomach pains, yay! On our trip I just tried to cut out the almonds and cashews and kept other foods at moderate amounts, except eggs ( I ate those daily). Now that we are back home I'm working on cutting out all of the foods we discovered I don't tolerate. I think for me the hardest is no mexican food and no Kombucha, this girl LOVES her mexican food and her Kombucha!! That and having to make separate meals for myself, I cook extra stuff for myself to eat for breakfast, lunch and dinners. At my Doctors suggestion I'm using Duck eggs for myself and chicken eggs for the rest of the family, the duck eggs are harder to come by and more expensive so it's not feasible at this point to feed us all this way. I really thought avoiding most of the food items would be pretty easy, but I'm finding it a bit harder than I anticipated. I rarely drink coffee so I didn't think It would be a problem, but now that I know I can't have it guess what I want? Yep, coffee!
I'll try not to bore you all with to many details, I really want to do some posts on the subject and have been trying to organize my thoughts and figure out where to start. I'm thinking that I might start with what the differences are between food allergies and food sensitivities or intolerances and then move on from there. For now I'm embracing this new challenge and thankfully I have many people who need me and no time to waste wallowing in self pity or thinking about it. One example: last night was a crazy night, so the kids had taco salad and I had my chicken breast with Herbs de Provence, sea salt and pepper on it with carrot sticks and honeydew melon, I had a fleeting moment of pity (like I said this girl LOVES mexican), but it was a good reminder of what we frequently tell our kids" We eat to live we don't live to eat" and that food is fuel. As I get the hang of things and the list of what I can't have becomes ingrained in my memory instead of having to check it everytime it will get easier I'm sure. What I'm most thankful for above everything is that I have a savior who loves me and promises to never leave nor forsake me, a God who I can cry out to and even vent my anger/frustration with what life has served up, my hope, faith and trust are in the Lord "And we know that all things work together for good to them that love God, to them who are the called according to his purpose." Romans 8:28
PALEO RECIPES

This Chili is For those of you who like it SPICY!!! It will make a huge pot of very meaty chili, it feeds our whole family with a little leftover, so you may want to scale it down for your family.
SPICY HOT CHILI WITH VEGETABLES
10 dried Ancho Chiles-chopped, stemmed and seeded (small-medium peppers, if you use bigger ones just use less)
1/2 cup water
1/4 cup white wine vinegar
 |
| Chopped Ancho Chiles soaking |
In small bowl, soak Chiles in water and vinegar for 30 minutes. After soaking puree the mixture in your blender or food processor until very smooth. Which takes about 5 minutes; set aside. I have tried both and my preference is the food processor.
3 pounds hot Italian sausage, casings removed
3 pounds ground beef
Place sausage and ground beef in a large, deep skillet. Cook over medium high heat until evenly browned. Then remove the meat from the pan and set aside in a large stock pot, reserving about 1/4 cup of the meat drippings in the skillet.
1 large white onion, chopped
1 large red onion, chopped
 |
| Onions, chopped, in the pan and ready to Saute. 4 cups chopped celery 4 cups chopped carrots 10 cloves of garlic, sliced In your large skillet heat the drippings over med-high heat and Saute your onions, celery, carrots, and garlic until the onions are soft.  1 tsp sea salt (or less, to taste) 1 tsp ground black pepper 1 (6 ounce) can tomato paste 1 cup dry red wine 4 (14.5 ounce) can tomato paste 1/4 cup hot sauce (I use Tapatio) 1 heaping Tbsp chili powder 2 tsp ground cumin 1 Tbsp fresh parsley (optional) 1/4 cup honey or agave (or less, to taste) Season with salt and pepper. Stir in tomato paste, and allow to caramelize. Then pour in the wine to deglaze your skillet. Add your sauted vegetables to the meat in the stockpot, adding the canned tomatoes, hot pepper sauce, chili paste (from your blender or food processor), honey, and seasonings. Bring to a boil, cover, reduce heat and simmer for 3 hours. Stir chili about every hour being sure to scrape the bottom.   This is a very versatile recipe, I added some extra fresh tomatoes today because they needed used. Use your imagination and enjoy! |
Monday, March 25, 2013
A Chapter is...
about to come to end. I want to preface this announcement by saying I've really enjoyed the encouragement and support you have offered during my blogging chapter, and I want to apologize to those of you who may have just recently stumbled onto or discovered Budget Paleo...Made Easy. This is a decision my husband and I have weighing carefully for a quite a while now and some things that came up this past week just made it very clear to us that it is time for me to stop blogging (new reasons). I was really looking forward to sharing and blogging about my latest elimination diet, but I know this is the Lords will and I'm looking forward to new things in our future. I will leave the blog here as a "ghost" blog, so recipes, posts, etc. will still be accessible, but I won't be answering comments or making new posts. I will also be closing down the Facebook page in the next week or so, I'll try to use it as a way to get the word out that Budget Paleo...Made Easy is coming to an end. I love Pinterest and will still be on there as myself rather than Budget Paleo...Made Easy, feel free to continue to follow me as I pin away. Again thank you all so much for all the support, encouragement and kind words, it's been fun! I'll leave you all with a link to my post from a few months ago when I took a sabbatical from blogging and started weighing this decision more heavily, it has a long list of resources, if you would like me to add your blog to the list please message or email me and I'd be happy to do so. Good Bye and God Bless!

Pin It

Pin It
Tuesday, February 12, 2013
Valentines Day Recipe Ideas
Valentines Day is sneaking up on me, I had intended to do this post earlier but just didn't get to it until now. Here are some fun ideas, some I've found on Pinterest, some are favorites or ours, and some just looked fun. We will be making Chocolate Sun-Butter Cups in a heart shaped mold, along with some other truffle filled dark chocolate candies, we might also do some Chocolate Dipped Strawberries and for sure some Bacon Wrapped Dates, we all LOVE those. Happy Valentines Day!


Pin It
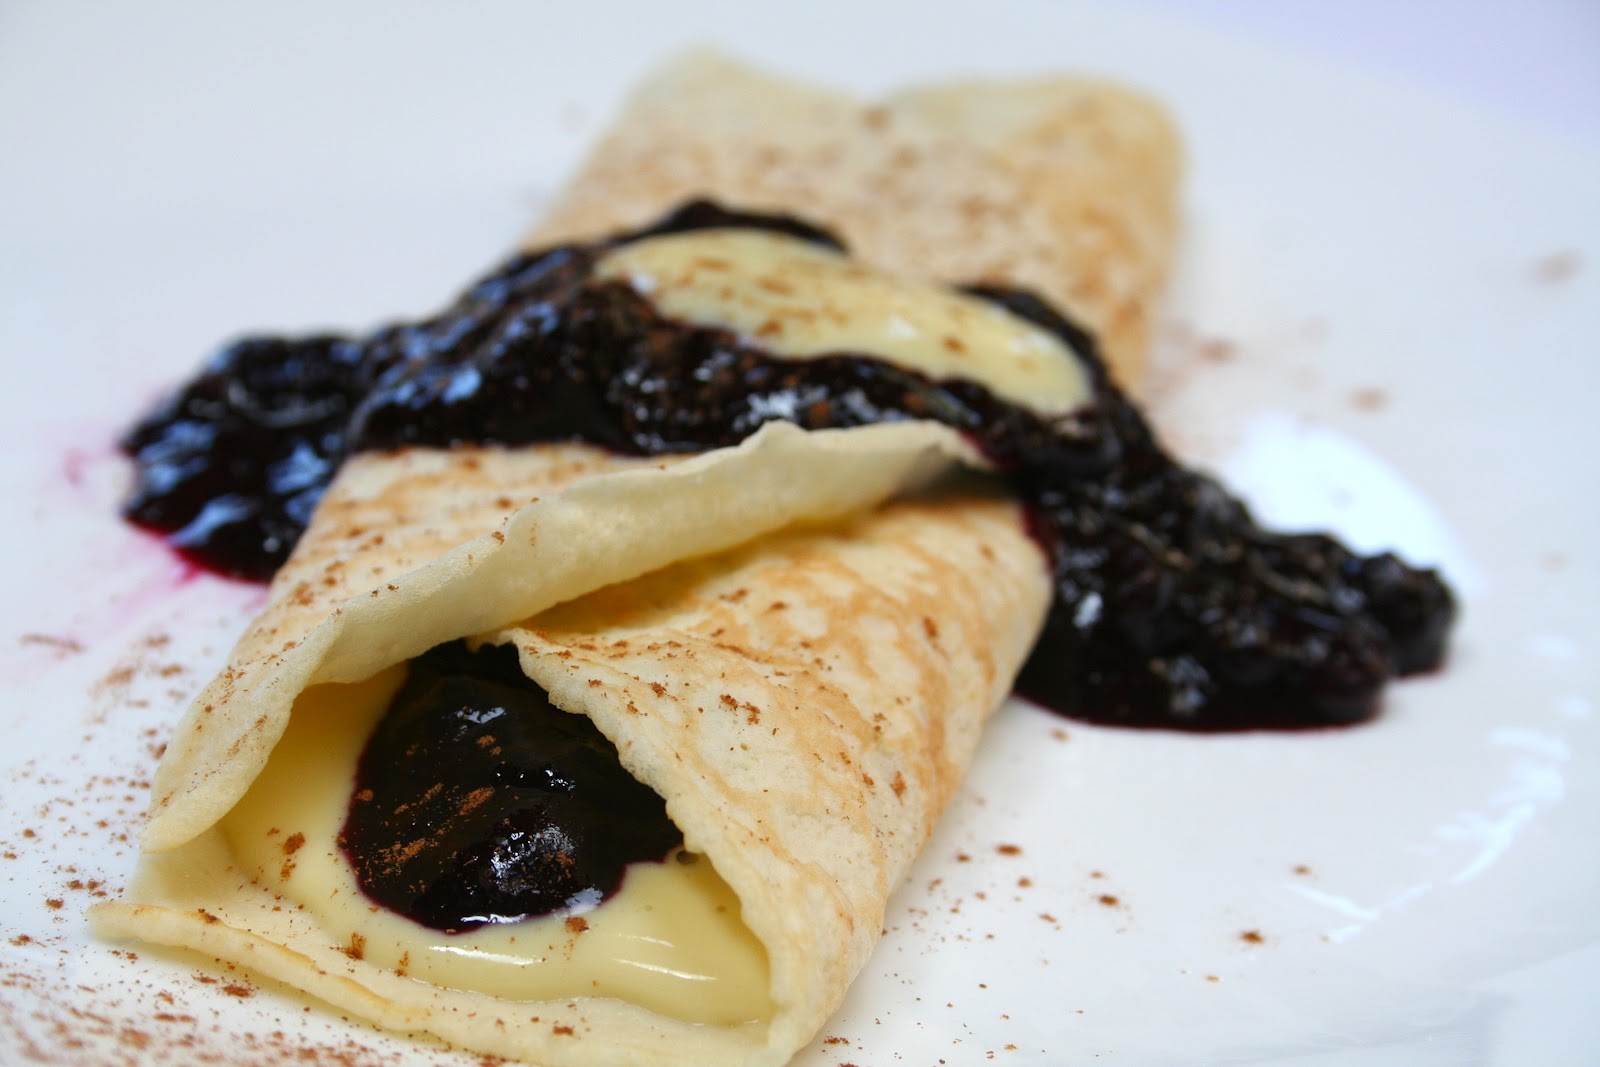
Here are some great breakfast ideas:


Fun Ideas:


I thought this was a fun alternative to candy, little boys can make and give these little cars, the top link has the free printable:


Dessert Ideas:


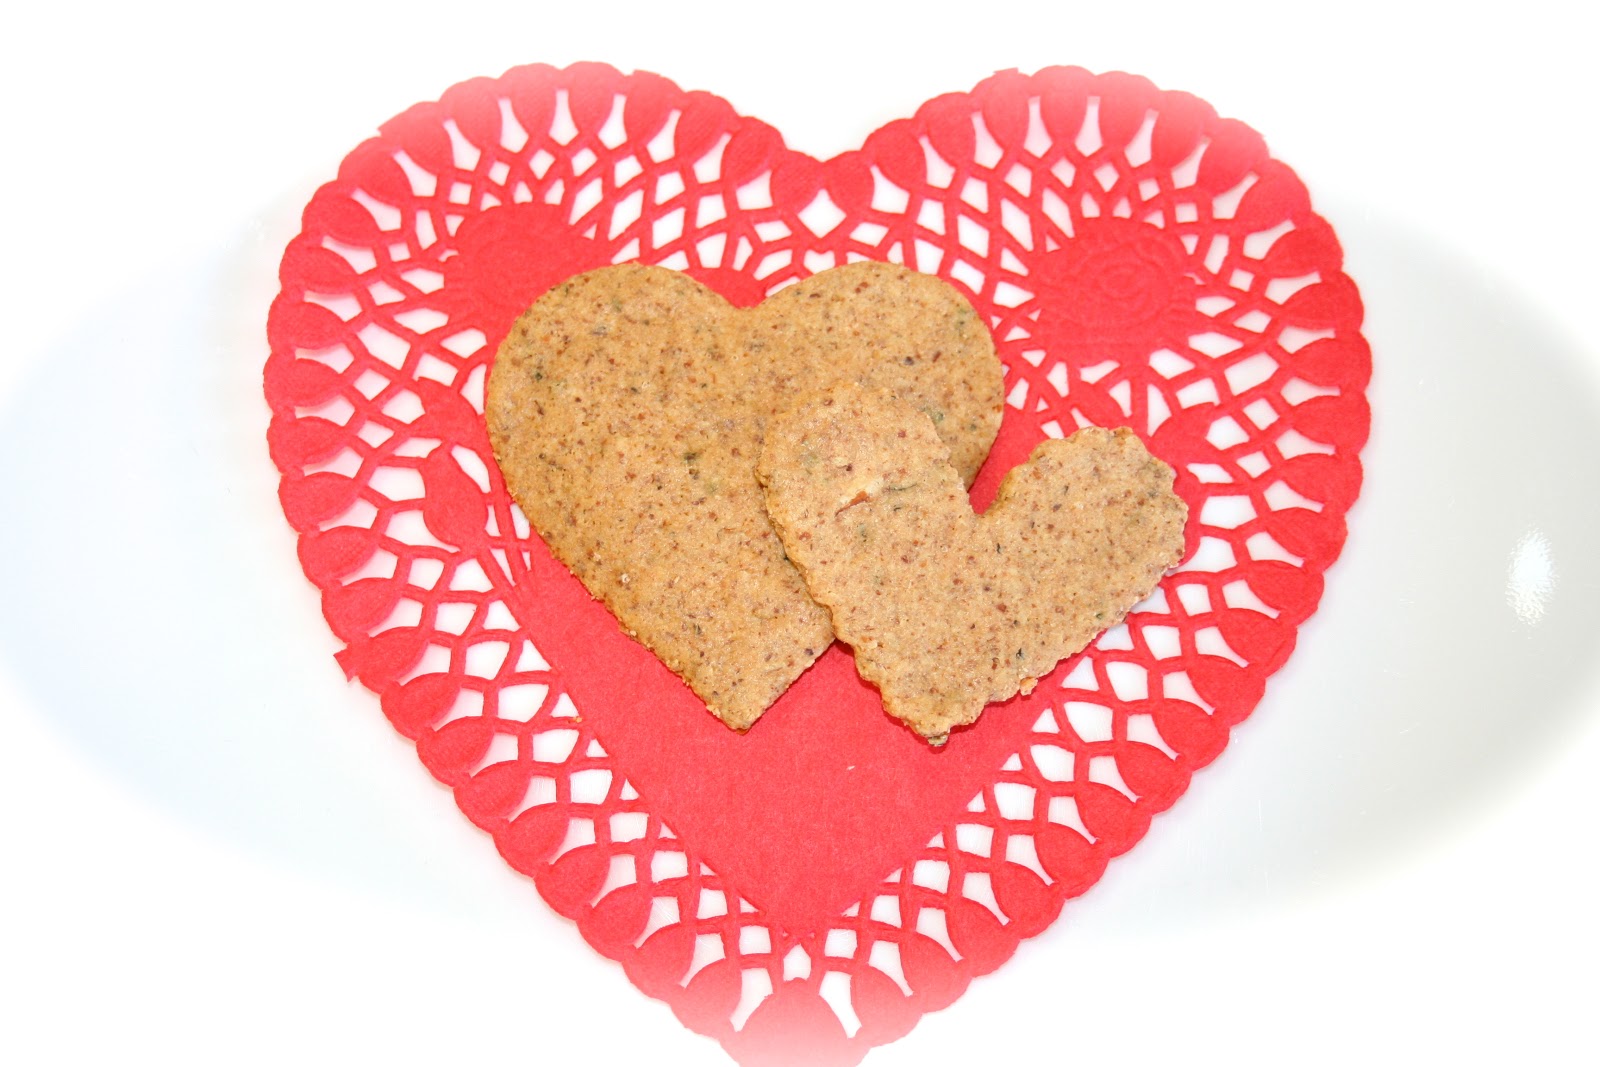
Grain Free Garlic and Herb Snack Crackers
I though these would be a fun snack for the kids on Valentines Day. I used my recipe for Almond Meal Crackers, but after I rolled them out I used heart cookie cutters and then lifted them with a thin spatula onto a cookie sheet lined with parchment paper. The kids loved them, these take just a little more time to make than cutting them with a pizza cutter or pastry cutter, but it's well worth it.

2 slightly heaping cups of almond flour ( I make my own Unblanched Almond Flour)
2 eggs, slightly beaten
3 TBSP good quality olive oil ( or butter)
1/2 tsp sea salt (or more)
Garlic powder to taste ( about 1/4-1/2 tsp)
Dried Basil to taste ( about 1/2-1 tsp)
Oregano (about 1/4 tsp)
Rosemary ( optional)
Combine all of the above ingredients in a bowl and mix well until combined. Then knead the dough into a ball, place on a large sheet of parchment paper and flatten with your hands. Then cover with another sheet of parchment paper and roll out with a rolling pin until its thin ( about 1/8"). Then remove the top layer of paper and using a pizza cutter, cut dough into crackers or using a cookie cutter cut into shapes. If you are using a cookie cutter you will need to use a thin spatulat to lift them off the paper and move them to a parchment paper lined baking sheet. You may then re-roll the scraps and repeat the process. If you are not using the cookie cutter method then just slide the parchment paper onto a baking sheet and bake in a preheated oven of 325 degrees for about 20-30 minutes removing the ones on the edges as the get done more quickly and allowing the middle to finish baking. Remove from the oven and allow to cool completely, enjoy or store in an airtight container!


Pin It
Paleo And GF Crackers #2
( all almond flour)
2 slightly heaping cups of almond flour ( I make my own Unblanched Almond Flour)
2 eggs, slightly beaten
3 TBSP good quality olive oil ( or butter)
1/2 tsp sea salt (or more)
Garlic powder to taste ( about 1/4-1/2 tsp)
Dried Basil to taste ( about 1/2-1 tsp)
Oregano (about 1/4 tsp)
Rosemary ( optional)
Combine all of the above ingredients in a bowl and mix well until combined. Then knead the dough into a ball, place on a large sheet of parchment paper and flatten with your hands. Then cover with another sheet of parchment paper and roll out with a rolling pin until its thin ( about 1/8"). Then remove the top layer of paper and using a pizza cutter, cut dough into crackers or using a cookie cutter cut into shapes. If you are using a cookie cutter you will need to use a thin spatulat to lift them off the paper and move them to a parchment paper lined baking sheet. You may then re-roll the scraps and repeat the process. If you are not using the cookie cutter method then just slide the parchment paper onto a baking sheet and bake in a preheated oven of 325 degrees for about 20-30 minutes removing the ones on the edges as the get done more quickly and allowing the middle to finish baking. Remove from the oven and allow to cool completely, enjoy or store in an airtight container!

Dough ready to be rolled out.
 |
| Flattening the dough with my hands. |

Cutting out the shapes.

Baking

Yummy Garlic and Herb Crackers ready to eat.
Pin It
Subscribe to:
Posts (Atom)